Once logged in to your seller account, hover over PRODUCTS located on the main navigation, then click PRODUCTS LISTING.

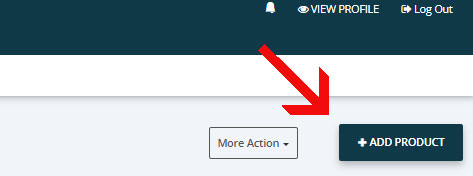
Now look for the ADD PRODUCT button on the right side of the screen.
Now, you will be on the NEW PRODUCT PAGE.
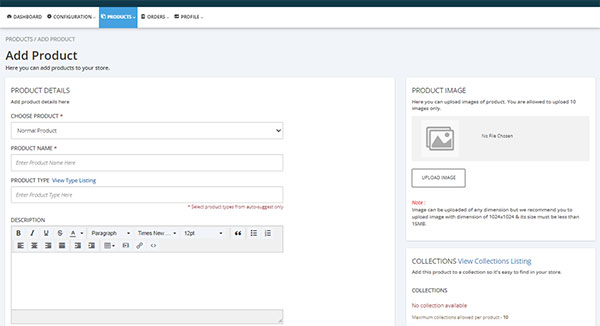
Your listings, or products, are the most important elements in our store and your storefront. Take your time and fill out the entire form as best you can. Let’s go over all of the options.
PRODUCT DETAILS
Choose Option – The default option is “Normal Product” and cannot be changed. This may change at a later date.
Product Name – The product name should reflect the artwork title and product type. We do not recommend “keyword stuffing,” but the title is important to be found. Try to be specific. For instance, “Wonder Woman Art Print (8×10)” is a better name than “Wonder Woman Print” since the customer would know exactly what to expect without reading the description.
Product Type – You will see a dropdown of predetermined categories when you click on this area. Sellers cannot create custom categories, product types, or collections. Please contact us if you would like us to consider a new category.
Description – Take your time and draft a paragraph of at least 250 words. The description is an essential area for being discovered and offering critical information to prospects. Many people ignore this section, and that is a mistake.
Product Tags – You can create as many custom tags as you like. They are not very important yet, but they could be supported later.
Product Policy – If an individual product includes any limitations or requires policies not covered under your storefront policies, add that information here.
SHIPPING DETAILS
Weight Unit – All weight is measured
Weight – Add the weight of your listing. Be sure to consider packaging and materials.
PRICING DETAILS
Price – Add your price in dollars. If your listings are heavy, we recommend adding to the price to help with shipping fees.
Compare at Price – This field is unimportant unless you post a sales price for the listing.
INVENTORY DETAILS
SKU – Although this is optional, we recommend adding a sequence of numbers and characters here. You can use the identifying number to identify your listings. Or you can place a random 10-digit code that means nothing at all. Services like “Facebook Shop” and “Google Shop” require a SKU, ISBN, or UPC for all listings—something there is better than nothing.
Barcode – This is a good spot to add your UPC. If you add a UPC number here, you do not need to also have a SKU number for third-party services.
Track Inventory – Utilize this selection for limited pieces.
VARIANT DETAILS
Working with variants is initially a little weird, but they allow you to offer product options. If you have worked with Shopify in the past, then you will understand the concept of variants. Here is an example of how to set up variants if you sell t-shirts.
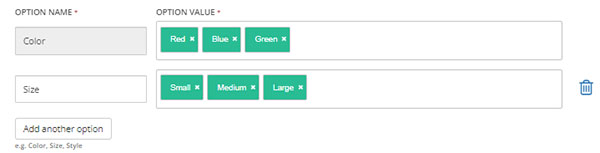
The above setup would result in two dropdown menus for your t-shirt listing. Once you save the options, you can edit the prices and SKUs for each variant.
PRODUCT IMAGE
You can add up to ten images to showcase your product. We recommend at least two images.
COLLECTIONS
This is not an option that sellers can change.
PRODUCT STORAGE
This area shows you how much space your product uses. The lower this number is, the faster your product page will display for visitors. If your pages take too long to load, the product may not sell very well.